WP Ultimo has switched from its original 1.x family of releases to the 2.x family of releases.
WP Ultimo version 2.0 and up is a complete rewrite of the codebase, meaning that there's very little shared between the old version and the new one. For that reason, when upgrading from 1.x to 2.x, your data will need to be migrated to a format that the new versions can understand.
Thankfully, WP Ultimo 2.0+ comes with a migrator built into the core that is capable of detecting data from the old version and converting it to the new format. This migration happens during the Setup Wizard of version 2.0+.
This lesson covers how the migrator works, what to do in cases of failure, and how to troubleshoot issues that might arise during this process.
IMPORTANT: Before you begin upgrading from version 1.x to version 2.0 please make sure that you create a backup of your site database
First steps
The first step is to download the plugin .zip file and install version 2.0 on your network admin dashboard.
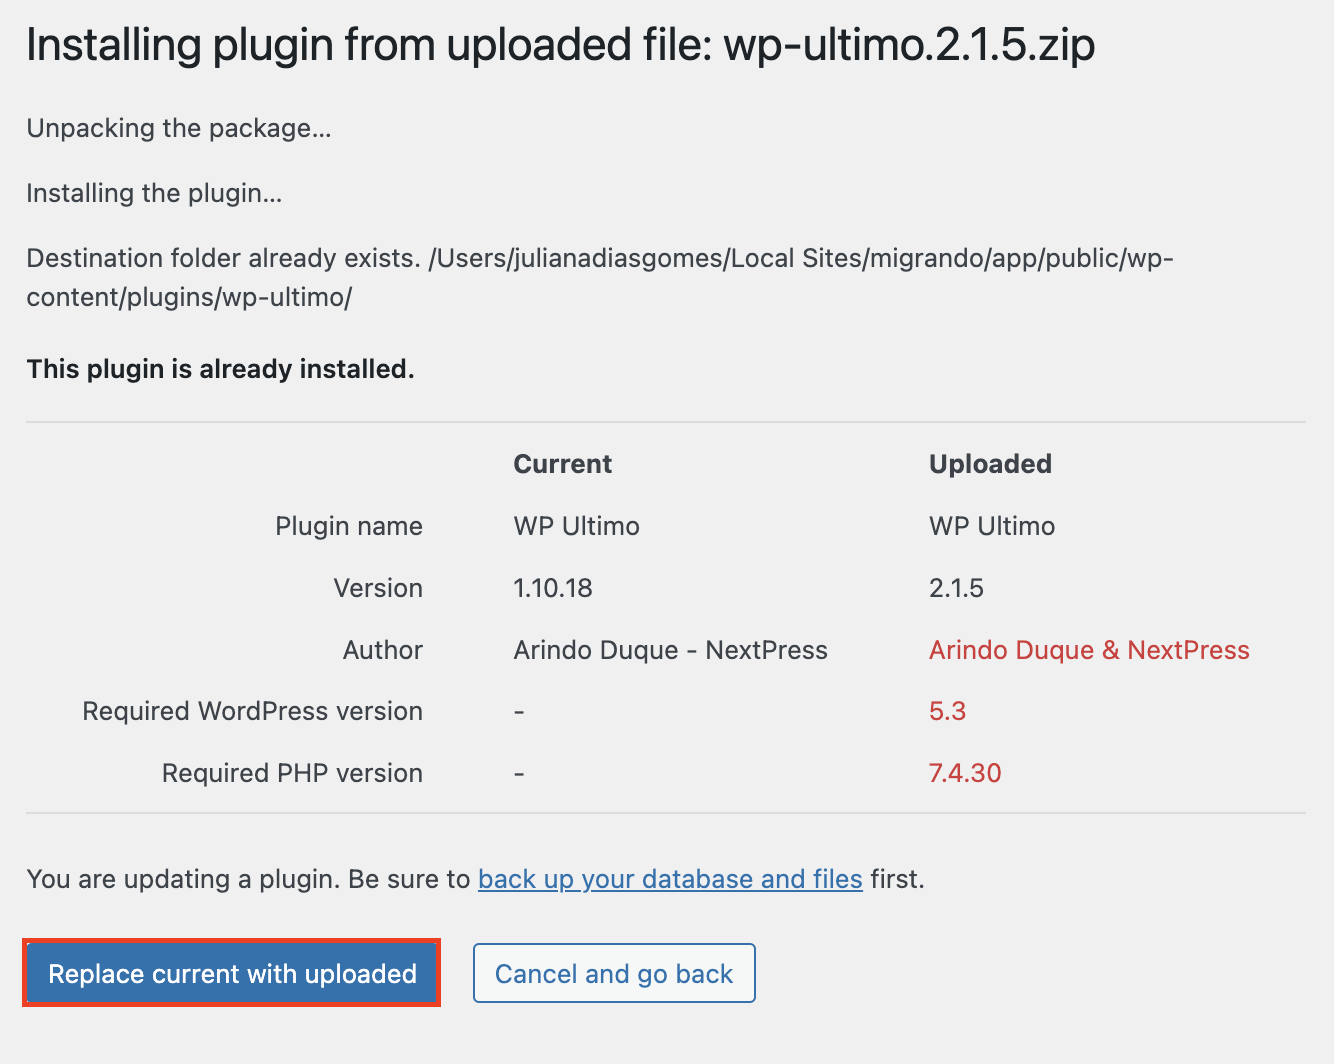
After you install and activate version 2.0, the system will automatically detect that your Multisite is running on the legacy version and you will see this message at the top of the plugin page.
NOTE: If you have WP Ultimo 1.x installed on your Multisite, you'll have the option to replace the plugin with the version you've just downloaded. Please, go ahead and click to Replace current with uploaded.
The next page will let you know what legacy add-ons you have installed along with version 1.x. It will have instructions on whether the version you are using is compatible with version 2.0 or if you need to install an upgraded version of the add-on after the migration.

Once you are ready to proceed, you can click the button that says Visit the Installer to finish the upgrade.

It will then bring you to the installation wizard page with some welcome messages. You just need to click Get Started to move to the next page.

After clicking Get Started, it will redirect you to the Pre-install Checks_._ This will show you your System Information and WordPress installation and tell you if it meets WP Ultimo's requirements.

The next step is to key in your WP Ultimo license key and activate the plugin. This will ensure that all the features, including add-ons, will be available on your site.

After putting in your key, click Agree & Activate.
After license activation, you can begin the actual installation by clicking Install on the next page. This will automatically create the necessary files and database needed for version 2.0 to function.

Now, the migration
The migrator has a built-in safety feature wherein it will check your entire multisite to make sure that all your WP Ultimo data can be migrated without any issues. Click the Run Check button to start the process.

After running the check, you have two possibilities: the result can be either with an error or without an error.
With Error
Should you get an error message, you will need to reach out to our support team so that they can assist you in fixing the error. Make sure you provide the error log when you create a ticket. You can download the log or you can click the link that says contact our support team. It will open the help widget on the right-hand side of your page with the fields pre-populated for you that include the error logs under the description.
Since the system found an error, you won't be able to proceed to migrate to version 2.0. You can then roll back to version 1.x to resume running your network until the error is fixed.
Without Error
If the system doesn't find any error, you will see a success message and a Migrate button at the bottom that will allow you to proceed with the migration. On this page, you will be reminded to create a backup of your database before moving forward, which we strongly recommend. Hit Migrate if you already have a backup.


And this is all it takes!
You can either continue to run the Wizard setup to update your logo and other things on your network or start navigating your WP Ultimo version 2.0 menu and its new interface. Go ahead and have some fun.